
A fast website does more than feel better to use. It helps visitors stay engaged, improves conversion rates, and supports stronger search performance. Among all the elements that affect page speed, images are often one of the biggest culprits. Large, poorly optimized files can slow a site down dramatically, especially on mobile connections.
That is why image optimization is one of the most practical ways to improve loading times. By choosing the right file formats, compressing images correctly, and delivering the right image size to the right device, website owners can make meaningful speed improvements without sacrificing visual quality.
Why Image Format Choice Matters
When people talk about speeding up a website, they often think about hosting or improving something in the code. Those things matter, but image format selection can make an equally important difference. The same visual can exist in several different file types, and each one handles quality, compression, transparency, and detail differently.
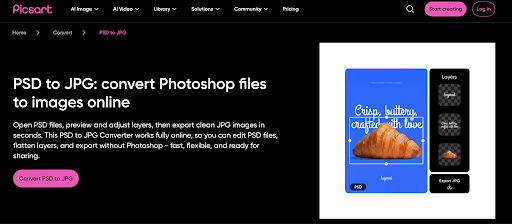
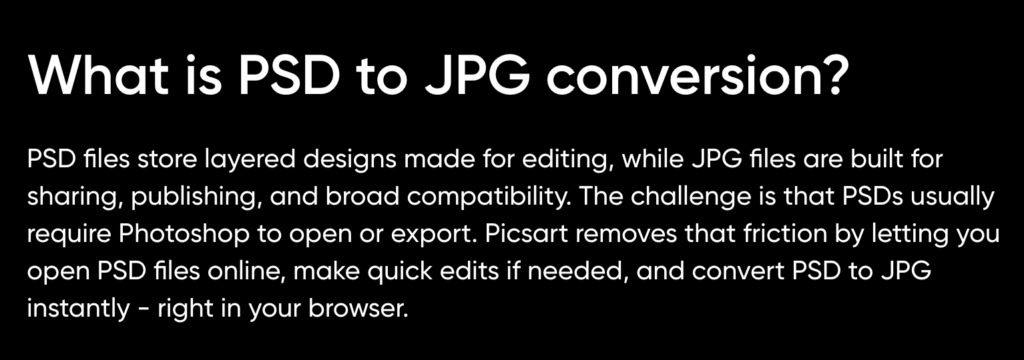
For example, a PSD to JPG transition is common when designers need to turn layered Photoshop files into lightweight web-ready images. A PSD file is excellent for editing, but it is not meant for publishing on a live website. Converting it into a more suitable format like JPG makes the image far more practical for web use, especially when the goal is faster loading and better performance.
Using the wrong format can make images much heavier than they need to be. Multiply that across a homepage, product catalog, blog archive, or landing page, and the result can be a noticeable slowdown that affects the entire website experience.
Matching the Format to the Content
One of the best ways to optimize website images is to stop treating all images the same. A product photo, a logo, a screenshot, and a decorative icon should not all be exported in the same format by default.
Photos usually perform best as JPG, WebP, or AVIF because these formats keep file sizes manageable. Graphics that need transparency may work better as PNG or WebP. Logos and icons often belong in SVG if they are vector-based. Small interface visuals may need a sharper format than a compressed photo file. When format choice is based on the image’s actual purpose, the site becomes lighter and more efficient almost immediately.
Compression Types
Image compression generally falls into two main categories: lossy and lossless. Understanding the difference helps website owners choose the right balance between visual quality and file size.
Lossy compression reduces file size by discarding some data. JPG and many WebP exports often use this method. The benefit is much smaller file sizes. The risk is visible quality loss if compression is pushed too far.
Lossless compression reduces file size without removing image data. PNG and some WebP exports can use this approach. The result is better image fidelity, but usually with larger files than a lossy version.
The right choice depends on the image. A hero photo or product image can often handle mild lossy compression without looking worse. A logo, UI element, or technical graphic may need lossless quality to stay clean and readable. The smartest approach is balance. Most websites do not need maximum quality on every image. They need images that look good enough while loading as quickly as possible.
Responsive Images Matter Too
Choosing the correct format is only part of the process. Image dimensions matter just as much. A site may technically use the right file type, but still load slowly if it serves huge desktop-sized images to mobile users.
Responsive image delivery helps solve this problem by providing different image sizes based on screen size and resolution. Instead of forcing every visitor to download the same large file, the browser can load a version that is appropriate for the device.
This improves load times, reduces wasted bandwidth, and creates a smoother experience, especially on phones and tablets. It also helps websites avoid the common problem of uploading one oversized image and using it everywhere.
Best Practices for Faster Image Loading
Website owners can improve speed significantly by following a few consistent practices. First, resize images before uploading them. Do not rely on the website to shrink a massive file in the browser. If an image only needs to display at 1200 pixels wide, uploading a 5000-pixel version creates unnecessary weight.
Second, compress images before publishing. Even modest compression can reduce file size dramatically without harming appearance. Third, use modern formats where possible to keep the quality high. Finally, audit your media library regularly. Many websites accumulate old, duplicate, or oversized files over time, and those assets can quietly drag down performance.
Common Mistakes That Slow Sites Down
Many website speed problems come from simple image handling mistakes. One of the most common is uploading original design files or overly large exports straight from creative tools. Files made for editing are rarely suitable for final web delivery.
Another frequent issue is overusing PNG. While it is useful in certain cases, it is often the wrong choice for standard photos and banners. Some sites also ignore mobile performance and focus only on how images look on desktop. This can create a poor experience for the majority of visitors if they are browsing on smaller devices.
Animation can also become a problem. Moving visuals may seem engaging, but they often add weight and complexity. In many cases, a static image can achieve the same goal more efficiently.
Building Image Optimization Into the Work
The best results come when optimization is part of the content workflow instead of an afterthought. That means preparing images correctly before upload, choosing formats intentionally, and using tools that support compression and conversion automatically.
For teams that work with layered design files, the publishing process should include a clean handoff from editable assets to web-ready versions. Designers may work in PSD or other source formats, but the final website should use properly exported files designed for speed and display. This kind of work process reduces inconsistency, prevents oversized uploads, and makes performance easier to maintain as the site grows.
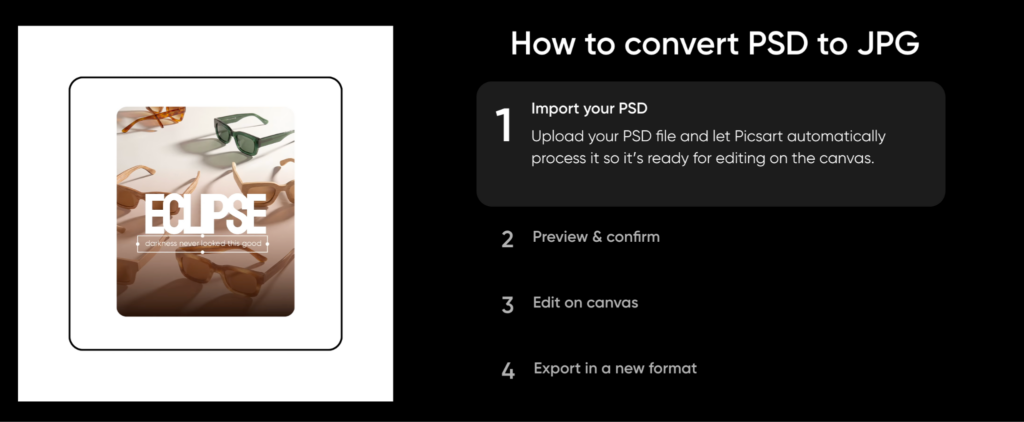
Image optimization has a direct and measurable impact on website speed. The format you choose affects file size, quality, load time, and overall user experience. A faster site keeps visitors engaged, supports better performance in search, and creates a smoother path to conversion.
The key is not to use one format for everything, but to choose the right format for each image, compress it properly, and deliver it in the right size. Small decisions around image handling can lead to major performance gains, making image optimization one of the simplest and most effective ways to build a faster website.
