
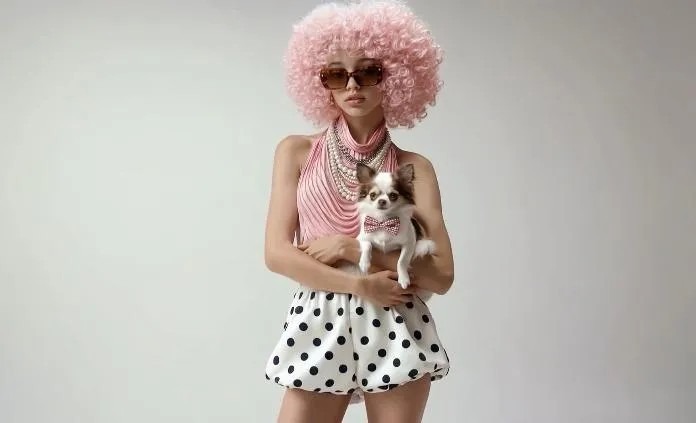
Image-to-video AI works best when motion feels motivated, subtle, and consistent with the original photo. If you start with the right image, define clear movement, and guide the model with precise prompts, you can turn a still frame into a believable short video instead of a clip filled with drifting details and awkward motion. The key is to treat the image like the first frame of a real shot. Decide what should move, what should stay stable, and how the camera should behave before you generate anything. A practical workflow also helps you avoid common problems such as warped faces, unstable hands, and backgrounds that slide unnaturally. The steps below show how to use image-to-video AI for more realistic motion and cleaner final results.
Prepare Your Image for Natural AI Motion
Choose a Clear, High-Quality Source Image
Start with a sharp image that has clear subject separation, natural lighting, and enough detail in the face, hands, clothing, or key objects. If the image is blurry, heavily compressed, or cropped too tightly, the model may invent texture and create unstable motion. Choose a frame with a readable pose and consistent perspective so the AI can interpret depth correctly. Portraits should show the eyes and mouth clearly if you want believable facial animation or speech. Clean backgrounds also help. When the scene is visually simple, the model can preserve identity better and keep movement focused on the parts that should actually animate.
Plan Subject, Background, and Camera Movement
Before generating, decide exactly what will move in the shot. Pick one primary subject action, such as a slight head turn, a hand raise, hair movement, or walking forward. Then define what should remain stable, especially the background and overall composition. Camera motion matters just as much. A slow pan, tilt, or gentle zoom usually looks more realistic than dramatic movement because it fits the limits of a still image. If both the subject and camera move too much, the video often feels synthetic. Treat the source image as your opening frame and plan a short, controlled continuation rather than a completely new scene.
How to Use Image to Video AI Step by Step
Upload Your Image and Set the Motion Direction
Upload your chosen image to the image to video ai tool and define the intended motion in plain, visual language. Describe what the subject does first, then add camera behavior. For example: “The woman looks slightly to the left, blinks once, and smiles softly. Slow camera push-in.” That structure gives the model a clear priority order. Avoid mixing unrelated actions such as turning, walking, waving, and dramatic zooming in the same short clip. If the tool includes directional controls, use them to anchor movement instead of relying only on descriptive text. Start with a short duration and modest motion range. A still image can support believable continuation, but it rarely supports extreme pose changes without visible artifacts. If speech is part of the goal, make sure the face is front-facing or close to it so mouth animation stays clean. The best results usually come from one scene, one subject, and one dominant motion pattern per generation.
Generate and Refine Motion With Kling AI
Generate a first pass with Kling AI using restrained motion settings, then refine based on what the clip actually shows. Kling Video 3.0 is useful here because it supports strong character consistency, native audio with lip-sync, up to 15 seconds of duration, 4K output, and motion control for pans, tilts, zooms, and start-to-end frame transitions. Those features are most effective when used selectively. If the face shifts, tighten the prompt around identity preservation and reduce overall movement. If the background drifts, simplify camera instructions or weaken parallax. For talking videos, assign speech clearly and keep facial movement natural rather than overly expressive. Review the clip frame by frame if needed. Then rerun with one or two changes at a time, such as softer head motion, slower zoom, or steadier shoulders. Controlled iteration works better than rewriting the entire prompt after every generation because it reveals exactly which adjustment improved realism.
How to Make AI Video Motion More Realistic
Write Focused Prompts for Natural Subject Movement
Write prompts as short direction notes, not dense paragraphs. Start with the subject, then describe one or two natural motions, followed by tone or pacing. Good examples include: “The man breathes gently, blinks naturally, and turns his head slightly toward the camera,” or “The child takes a small step forward while keeping the same expression.” Words like subtle, slow, gentle, steady, and natural help guide believable timing. Be specific about what should stay unchanged as well, such as facial identity, clothing, or background composition. Avoid cinematic overload and abstract language. If you ask for dramatic emotion, large body movement, flying hair, and fast zooms together, the model may create unstable details. Focused prompts narrow the animation range and help the AI preserve structure from the original image.
Control Camera Motion and Avoid Common Artifacts
Camera motion should support the subject rather than compete with it. A slow push-in, minor pan, or light tilt is often enough to create depth and realism. Keep the motion speed low and avoid abrupt perspective changes that a single image cannot convincingly sustain. If the background starts bending, sliding, or separating from the subject, reduce parallax and simplify the shot. Watch hands, teeth, jewelry, and hairlines closely because they often reveal artifacts first. If these areas flicker, shorten the clip or lower movement intensity. For talking clips, keep the face large enough in frame for stable lip-sync and avoid side angles that hide the mouth. The most realistic result usually comes from limited camera motion, a stable composition, and one clear focal point from beginning to end.
Conclusion
Using image-to-video AI for realistic motion is mostly about making controlled choices. Start with a clean, high-quality image, decide what should move, and keep the action consistent with the original frame. Then generate a short test, review the result closely, and refine only the elements that break realism. Focused prompts, modest subject movement, and simple camera direction usually produce the best outcome. If you need a talking clip, prioritize clear facial visibility and stable framing so speech and lip-sync look natural. Tools with stronger motion control and character consistency can make refinement easier, but the workflow matters most. Treat each generation like a directed shot, not a random effect, and your videos will look more believable, polished, and useful.
