
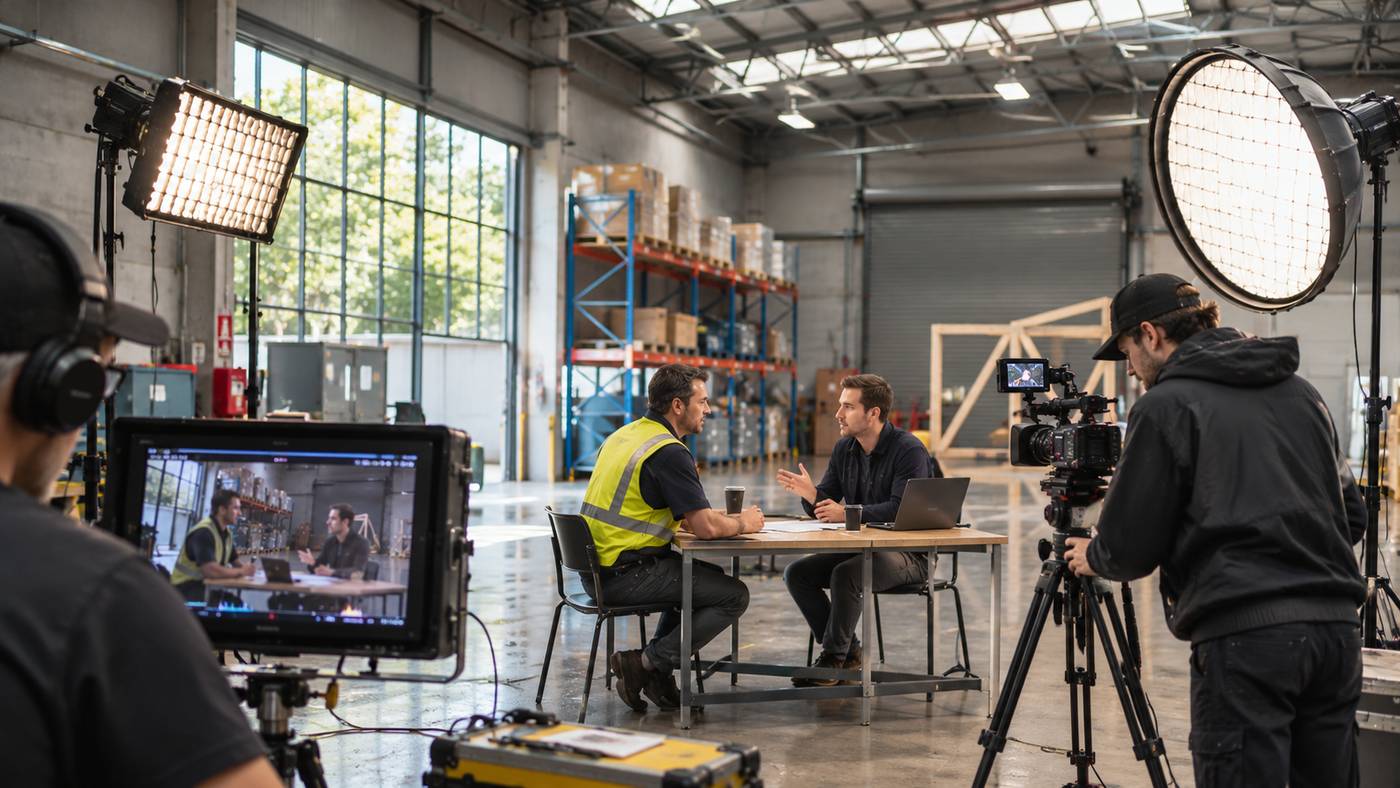
Converted warehouses are everywhere in Melbourne, from Collingwood and Richmond to Brunswick and Footscray. Exposed brick, timber beams, polished concrete and enormous windows make them some of the most popular shoot locations in the city. They also make them some of the trickiest to light.
The challenge is simple to describe. Daylight pouring through huge windows looks beautiful, but it changes throughout the day and rarely falls exactly where you need it. Studio lights give you control, but used badly they can make a characterful space look flat and artificial. The goal is to combine the two so the footage looks natural and stays consistent. Here’s a step-by-step approach.
Step 1: Scout the Space at the Right Time of Day
Every warehouse behaves differently. Before shoot day, visit the location at the same time you plan to film. Note which direction the windows face, where direct sun lands and how quickly the light moves across the floor.
Look up as well. Skylights and sawtooth roofs, common in older industrial buildings, can drop bright patches of light into the middle of the room. Those patches move through the day and can wander right across your set.
Take test footage on a phone or small camera, and snap a few photos of the windows and ceiling so the lighting team can plan gear before the day. It’s a quick way to see how the camera reads the contrast between bright windows and dark corners. Many teams handling Melbourne video production work also check the power supply during the scout, because older buildings may not have enough circuits for a full lighting setup.
Step 2: Decide Whether Daylight Is Your Key or Your Fill
Before setting up lights, decide what role the daylight will play.
If the windows are your main light source (the key light), position your subject so the window light falls across them from the side or slightly in front. Then use studio lights to fill shadows and add separation from the background.
If the daylight is too strong or unreliable, treat it as background ambience instead. Block or soften the direct light, and use your own lights as the key. This gives you more control, especially for long interviews.
There’s no single right answer, and some shoots switch approaches as the day goes on. Short, energetic pieces often suit daylight as key, while interviews and presenter-led content usually benefit from controlled lighting.
Step 3: Match Colour Temperature
Daylight and indoor lighting have different colours. Daylight is cool and bluish, while traditional tungsten bulbs are warm and orange. Mixing them without care makes skin tones look odd.
The easiest fix is to use daylight-balanced LED lights, or bi-colour LEDs set to match the daylight in the room. Check the colour on a monitor rather than trusting your eyes, because the human eye adjusts to colour shifts that the camera will record.
Colour matters across a series, too. If you’re planning event videos with an event video production Brisbane crew as well as a Melbourne team, share colour settings, lighting notes and reference frames so the finished videos match. A simple shared document goes a long way toward keeping a series consistent.
Watch out for the venue’s own lighting too. Fluorescent tubes and older industrial lamps can add green or orange tints. If they’re not part of the look, switch them off.
Step 4: Shape and Soften the Window Light
Large windows can act as a giant soft light, but direct sun through glass is harsh. Diffusion fabric taped over the window, or a large scrim between the window and your subject, turns that hard light into something softer and more flattering.
Negative fill is just as useful. A black flag or fabric on the side opposite the window absorbs bounced light and adds shape to the face. Warehouses often have white or pale walls that bounce light everywhere, which can flatten your image.
For shots that show the windows in frame, the contrast between bright exteriors and darker interiors can be extreme. Lifting the interior with your lights, or applying ND gel to the windows, brings the two closer together. ND gel is a neutral grey film that cuts the amount of light coming through the glass without changing its colour, so the view outside stays visible instead of turning into a white blur.
Step 5: Plan for the Light to Change
Daylight shifts in brightness, colour and direction across the day. A shoot running from 9am to 4pm will see all three change.
Keep an eye on exposure and adjust the studio lights as the day goes on. Some crews schedule wide shots, which show the most of the space, during the most stable part of the day and save close-ups for later, when changes are easier to control.
Clouds are another variable. If they’re moving quickly, consider blocking direct sunlight altogether and relying on your own lights for consistency.
Sound deserves a mention here as well. Big, hard-surfaced warehouses echo, and that echo gets worse as you add crew and gear. Sound blankets hung just out of frame, rugs on concrete floors and lavalier microphones placed close to the speaker all help keep audio clean while you focus on the light.
Step 6: Grade With a Light Touch
Even with careful lighting, colour grading helps tie everything together. Shoot in a flat or log profile so the editor has room to recover detail in bright windows and dark corners.
The aim isn’t to change the mood of the warehouse but to smooth out any shifts between shots. Over-grading can strip away the natural texture that made the location appealing in the first place.
Angry Chair is one production company that films in warehouse spaces regularly and plans lighting around each location’s quirks.
Bringing It Together
Warehouse locations reward crews who respect the natural light and know when to take control of it. Scout at the right time, decide on the role of daylight, match colours, soften harsh sun and plan for change. Follow those steps, and the space will look as good on screen as it does when you first walk through the door.
