
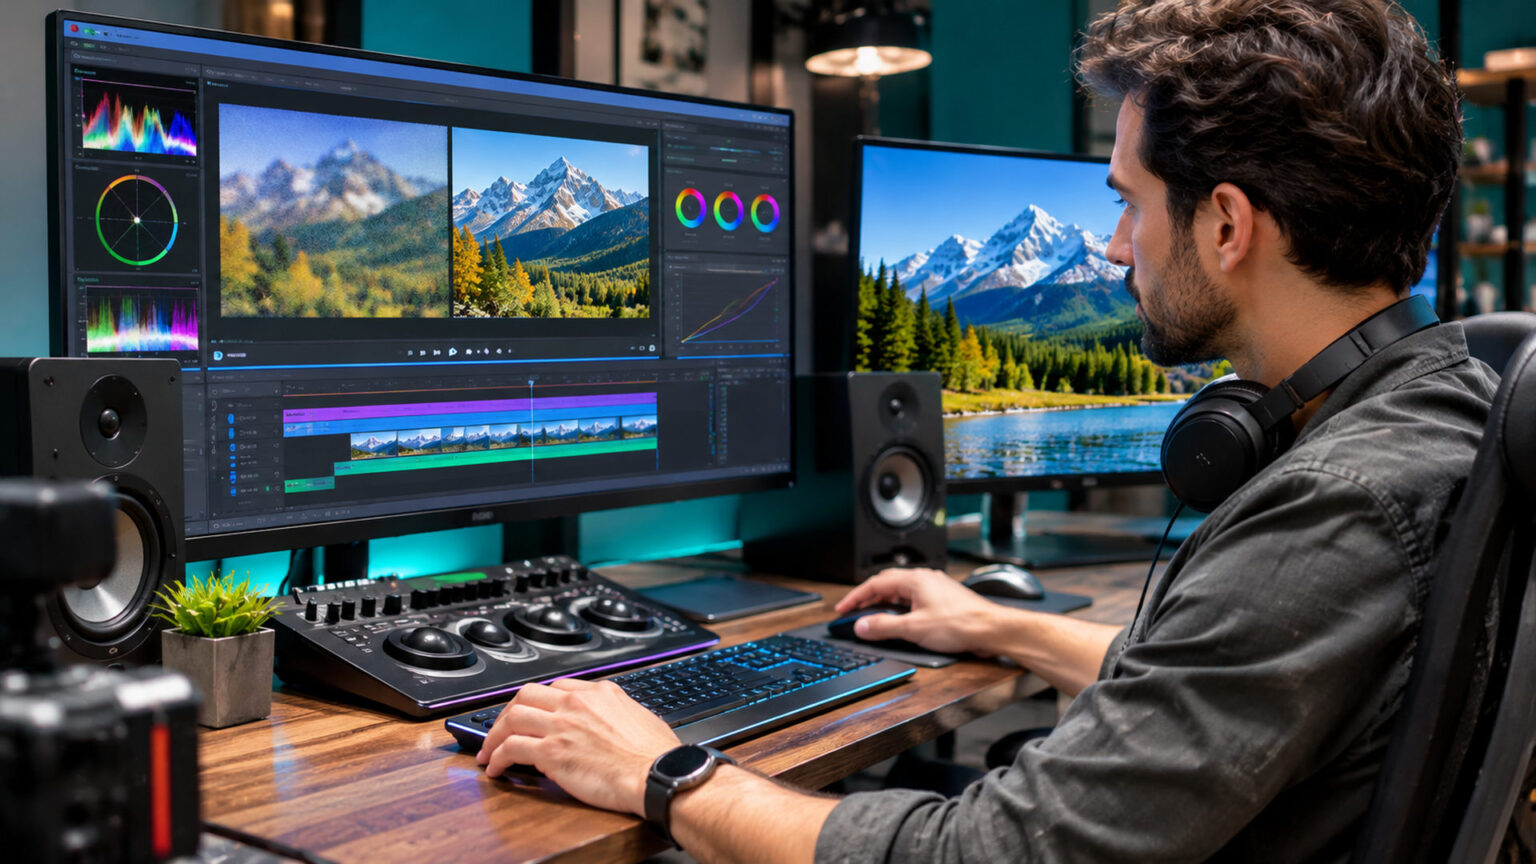
An AI video enhancer can improve the appearance of existing footage by reducing visible noise, softening compression artifacts, adjusting perceived sharpness, and increasing output resolution. Some applications also offer frame interpolation, stabilization, and specialized restoration tools. But enhancement is not the same as recovering everything a camera failed to record. A successful edit makes the original easier to watch while avoiding invented textures, distorted faces, and unnatural movement. Choosing the right workflow matters more than pushing every setting to its maximum.
Whether you are restoring family recordings, preparing tutorials, or refining business videos, the goal should be a credible result that plays smoothly on its intended screen. This guide explains how enhancement works, twenty three practical techniques, essential software features, and the checks that protect output quality.
What Does an AI Video Enhancer Actually Do?
An AI video enhancer analyses image patterns across frames and applies learned methods to improve aspects of a recording. Depending on the software, it may estimate missing edge detail, reduce compression blocks, smooth unwanted grain, or build additional pixels when enlarging the picture. The available tools and their quality vary widely.
Enhancement Is Not the Same as Original Detail
Upscaling a 720p clip to 4K increases the number of pixels in the output file, not the amount of authentic information captured by the original camera. Models infer plausible detail from visible patterns. This can produce a better viewing experience, but it can also change text, faces, distant objects, or fine textures. Evaluate whether fidelity or visual polish matters more for the project.
When an AI Video Enhancer Has Limits
Footage that is severely out of focus, heavily cropped, or missing entire frames may remain damaged after processing. No setting guarantees a faithful reconstruction of unreadable signs or obscured faces. For evidence, archives, medical material, and other accuracy sensitive uses, preserve the source and clearly distinguish enhancement from the original recording.
23 Powerful Ways to Get Better Results From Video Enhancement
1. Start With the Best Available Source
Find the highest quality original before editing. A camera file normally offers more useful information than a copy downloaded from a messaging app, which may have been compressed repeatedly. Check whether the file was previously exported at a lower resolution. Enhancing a degraded duplicate can amplify its defects. Save the original untouched so you can compare later results and restart if needed.
2. Identify the Main Problem Before Editing
Watch the clip at normal size and list what actually looks wrong. Is it noisy in shadows, blocky around movement, shaky during walking, or simply too small for a large display? Different problems call for different tools. A single aggressive preset may hide one defect while creating another. Choose the primary correction first and add secondary adjustments only when the preview shows a genuine benefit.
3. Match Upscaling to the Delivery Screen
Increasing a small video to a larger output can help when the destination requires higher resolution. However, a 4K export is not automatically better than a clean 1080p file. Consider the source quality, final viewing device, upload platform, and available rendering time. For a moderately detailed recording, a restrained upscale may preserve a more believable image than an extreme enlargement.
4. Reduce Noise Without Erasing Texture
Digital noise often appears as dancing coloured dots or grain, especially in low light footage. Denoising can make these areas calmer, but excessive strength may erase hair, foliage, fabric, or skin texture. Compare moving previews rather than relying on a single frame. A little natural grain may be preferable to smooth surfaces that look artificial. Use the least aggressive setting that solves the most distracting noise.
5. Treat Compression Blocks Separately
Poorly compressed clips may show square blocks, smeared motion, or bands around gradients. These are not identical to sensor noise, and sharpening alone often makes them more visible. Look for a tool that specifically handles compression artifacts or use gentler detail recovery. If the original was compressed multiple times, prioritize reducing visible distractions rather than expecting every edge to return to its original form.
6. Avoid Over Sharpening Fine Edges
Sharpness controls can add apparent detail, but pushing them too far creates bright outlines around objects, gritty skin, and shimmering leaves. View the clip at its actual playback size, then inspect a magnified crop for halos. Faces and high contrast architecture are useful test areas. If edges look more dramatic but less natural, lower the strength. The best enhancement does not announce itself through obvious digital outlines.
7. Test Moving Scenes, Not Only Still Frames
A preview frame may look excellent while the same shot flickers during playback. Video models need to maintain consistency across moving images, and some struggle with hair, water, repeated patterns, or fast camera movement. Test a section containing the hardest motion in your footage. An AI video enhancer should improve the viewing experience across time, not just produce an impressive before and after screenshot.
8. Use Frame Interpolation Only When Needed
Frame interpolation estimates new images between recorded frames. It can help create certain slow motion effects or smoother playback, but the invented frames are approximations. Fast movement, overlapping objects, and sudden scene cuts can generate warped hands or doubling. If the source already plays naturally at its intended frame rate, leave it alone unless the project requires a change. Examine the result at normal speed before approval.
9. Preserve the Original Frame Rate When Appropriate
Many clips are meant to retain their recorded motion character. Converting every video to a higher frame rate can change that appearance without improving the underlying detail. Confirm the source frame rate and the delivery specification before applying interpolation. For interviews, instructional videos, and documentary material, consistency may matter more than an unusually smooth look. Keep audio synchronization in mind when changing timing or duration.
10. Stabilize Motion Without Excessive Cropping
Stabilization can make handheld shots easier to watch, but software often needs to crop, warp, or reposition the image to compensate for movement. Aggressive settings may bend straight lines or leave too little of the original composition. Test a representative camera move and check the edges for strange distortion. When the motion is intentional, such as a gentle handheld follow shot, full stabilization may reduce its natural character.
11. Correct Exposure Before Enhancing Detail
Footage that is too dark or bright may benefit from basic tonal correction before stronger enhancement. Adjust exposure, contrast, and highlight recovery conservatively, since clipped highlights and crushed shadows may contain little recoverable information. Raising dark regions can reveal noise that then needs careful treatment. Evaluate the clip on a reasonably calibrated display and avoid making black levels so deep that important details disappear.
12. Keep Skin Tones Believable
Faces attract attention, so even subtle errors can make a video feel unnatural. A model may create overly smooth skin, inconsistent facial details, or shifting features between frames. Compare the result against the source and check expressions while the subject speaks or turns. Use conservative enhancement on interviews and family recordings. Do not treat generated facial detail as verified information about what someone originally looked like.
13. Handle Old Interlaced Footage Properly
Some older camcorder recordings contain alternating scan lines captured at different moments. Viewed directly on modern screens, they may show comb shaped edges during movement. Identify whether the footage is interlaced before using a suitable deinterlacing workflow. Simply increasing resolution does not remove this structure correctly. Keep a copy of the original recording and confirm that motion, field order, and aspect ratio are interpreted as intended.
14. Respect Historical Recording Characteristics
Old home movies and archival clips can benefit from cleanup, but excessive processing may remove the very texture that communicates their age. Keep colour, motion, and grain reasonably faithful when preservation matters. Avoid presenting reconstructed imagery as an untouched historical record. A useful restoration makes people and events easier to see while retaining a clear distinction between documented content and digitally inferred details.
15. Compare Short Test Exports Before Long Renders
Processing a lengthy file can consume considerable time and computing resources. Select a short section containing shadows, faces, rapid motion, and fine detail. Export that section with two or three settings and compare them side by side. Record the chosen settings before running the full file. This approach helps detect artifacts early and reduces the risk of finishing an expensive render that looks worse than the original.
16. Choose Local or Cloud Processing Deliberately
Desktop software may process footage on your own hardware, while cloud services send files to remote servers. Each approach has tradeoffs involving performance, upload time, privacy, and cost. Before sharing confidential client recordings or personal videos, review data retention, deletion policies, access controls, and training permissions. A convenient online AI video enhancer is not automatically appropriate for every sensitive project.
17. Verify Hardware Requirements in Advance
High resolution enhancement can place heavy demands on graphics processing and memory. Check supported operating systems, GPU capabilities, available memory, and storage before purchasing. A product that runs on one computer may perform slowly or lack features on another. If your machine is modest, test a small file first and consider a workflow that processes clips in shorter sections. Avoid assuming that all AI applications require identical hardware.
18. Choose the Right Output Codec
A codec determines how video is compressed and stored. Common delivery options offer different balances of compatibility, file size, and picture quality. A high resolution file exported at an excessively low bitrate can look worse than a smaller, properly encoded version. Choose settings that match your editing application, playback device, and publishing requirements. Verify that the exported file opens correctly outside the enhancement software.
19. Protect Aspect Ratio and Composition
Older recordings, vertical social clips, and widescreen projects have different shapes. Upscaling should not stretch faces or turn circles into ovals. Confirm source dimensions, pixel aspect ratio where relevant, and intended output framing. If cropping is needed, decide what must remain visible before rendering. Avoid automatically filling a widescreen frame by removing important people or visual information from a narrower original.
20. Review Colour and Contrast After Upscaling
Some enhancement workflows alter perceived contrast, saturation, or highlight appearance. Compare skin, neutral objects, and shadow detail against the source. A stronger colour grade is not always a more accurate one. If software offers standard dynamic range to high dynamic range conversion, ensure the output format, display, and workflow support it. Artificially bright highlights should not replace faithful tonal relationships.
21. Improve Speech Audio Separately
Clear pictures do not compensate for difficult dialogue. If the clip contains important speech, review volume, background noise, and intelligibility using suitable audio tools. An AI video enhancer may not include speech restoration, and even dedicated audio features can alter words when the recording is severely damaged. Listen carefully for mistakes and keep the original sound track available. Video and audio quality require distinct checks.
22. Keep Records of Every Processing Step
Save the source filename, software version, chosen model, export resolution, and key settings. For commercial or archival projects, keep an unmodified master and label enhanced versions clearly. These records make changes reproducible and help explain why two versions look different. They are also useful when a client requests a less processed appearance or a new platform requires a different export.
23. Judge Success at Normal Viewing Size
The final test is how the footage looks and sounds in the environment where viewers will encounter it. Check a phone, laptop, or television as appropriate, then watch from beginning to end. Look for flicker, unusual motion, inconsistent detail, audio drift, and playback failures. If the upgraded version looks cleaner without obvious new defects, the workflow has served its purpose. More processing is not necessarily an improvement.
How to Choose the Right AI Video Enhancer
The best software depends on your material and workflow. A creator preparing frequent short clips may prioritize simple controls and quick exports. Someone restoring a collection of older recordings may need deinterlacing, targeted denoising, batch processing, and detailed preview tools. A professional editor may place greater value on predictable colour handling and high quality intermediate exports.
AI Video Enhancer Features to Compare
Check supported input formats, maximum output resolution, preview options, editing controls, frame interpolation, processing limits, and batch export. Confirm whether an advertised feature is included in the plan you intend to buy. Compare realistic results using your own difficult footage, not only polished promotional demonstrations. Review whether the tool allows users to dial back enhancements that produce artifacts.
Pricing, Ownership, and Privacy
Subscription, credit based, and perpetual licensing models have different cost patterns. Estimate how many minutes you expect to process each month and whether credits are charged for failed attempts or preview renders. For cloud tools, check storage and file deletion policies. Confirm that you have permission to upload and edit the recordings, especially when they contain identifiable people, client material, or licensed footage.
A Practical Workflow for Enhancing a Low Quality Clip
Begin by copying the original file into a clearly named project folder. Inspect its resolution, frame rate, duration, and visible defects. Select one representative section and address the most distracting problem first. Apply gentle noise or compression correction, then decide whether upscaling is necessary. Check moving previews, not only still images. Make restrained colour and sharpness adjustments, export a short test, and compare it with the original at normal size.
When the sample looks consistent, process the full video with the same settings. Check the export for timing, sound, framing, and artifacts before publishing. Archive both the source and final version so future edits do not depend on a previously processed copy.
Example: Improving an Older Family Recording
Imagine a compressed 480p family video recorded in uneven indoor light. The priority is recognisable faces and stable motion, not artificial cinematic sharpness. First confirm whether it is interlaced. Next reduce distracting compression defects and noise, then test a moderate upscale. Review faces during movement and keep the original colour character where possible. A modest improvement that preserves familiar expressions is better than a dramatic result that alters them.
Example: Preparing a Tutorial for Larger Screens
For a screen recording, readable text and cursor motion are critical. Begin with the best original capture, avoid excessive sharpening halos, and examine interface labels after upscaling. AI reconstruction can invent or distort small lettering, so if the text is essential, recreating the screen recording at a higher native resolution is often more trustworthy. Use enhancement to improve presentation, not to certify information that was never legible.
Frequent Mistakes That Reduce Video Quality
Applying several aggressive filters at once can create plastic looking faces, flickering backgrounds, and overdefined edges. Rendering to a larger frame while using an unsuitable bitrate may produce a big file with disappointing quality. Skipping test exports can waste processing time, while ignoring motion artifacts may leave the most obvious defects undiscovered. Keep the process focused on specific problems, and compare each meaningful adjustment against the untouched original.
Frequently Asked Questions
1. Can an AI video enhancer turn 720p footage into 4K?
It can create a 4K sized output when supported, but inferred pixels do not restore every detail missing from the original recording. Results depend on source quality.
2. Is AI enhancement better than ordinary sharpening?
It can address noise, compression, and upscaling using learned image patterns, while sharpening mainly changes edge contrast. Either approach can cause artifacts if overused.
3. Can AI fix a blurry or out of focus video?
Some clips can look clearer, but severe focus errors may be impossible to reconstruct faithfully. Always compare facial features and fine details with the source.
4. Does frame interpolation improve video quality?
It can create smoother motion or slow motion effects, but estimated frames may warp objects during fast action or complex movement. It does not improve every video.
5. Is an online AI video enhancer safe for private footage?
Safety depends on the provider’s storage, retention, access, and processing policies. Review those terms before uploading sensitive or confidential recordings.
6. What export settings should I choose after enhancement?
Match resolution, frame rate, codec, and bitrate to the destination and source. Test playback on the intended device before sharing the final video.
Conclusion
An AI video enhancer is most useful when it solves visible problems without changing the character or meaning of the original footage. Strong results come from careful source selection, targeted corrections, restrained upscaling, and honest review of motion and fine detail. Choose tools based on your footage, hardware, privacy needs, and delivery requirements rather than headline resolution claims. With a repeatable testing workflow, cleaner video can remain believable, useful, and ready for its intended audience.
