
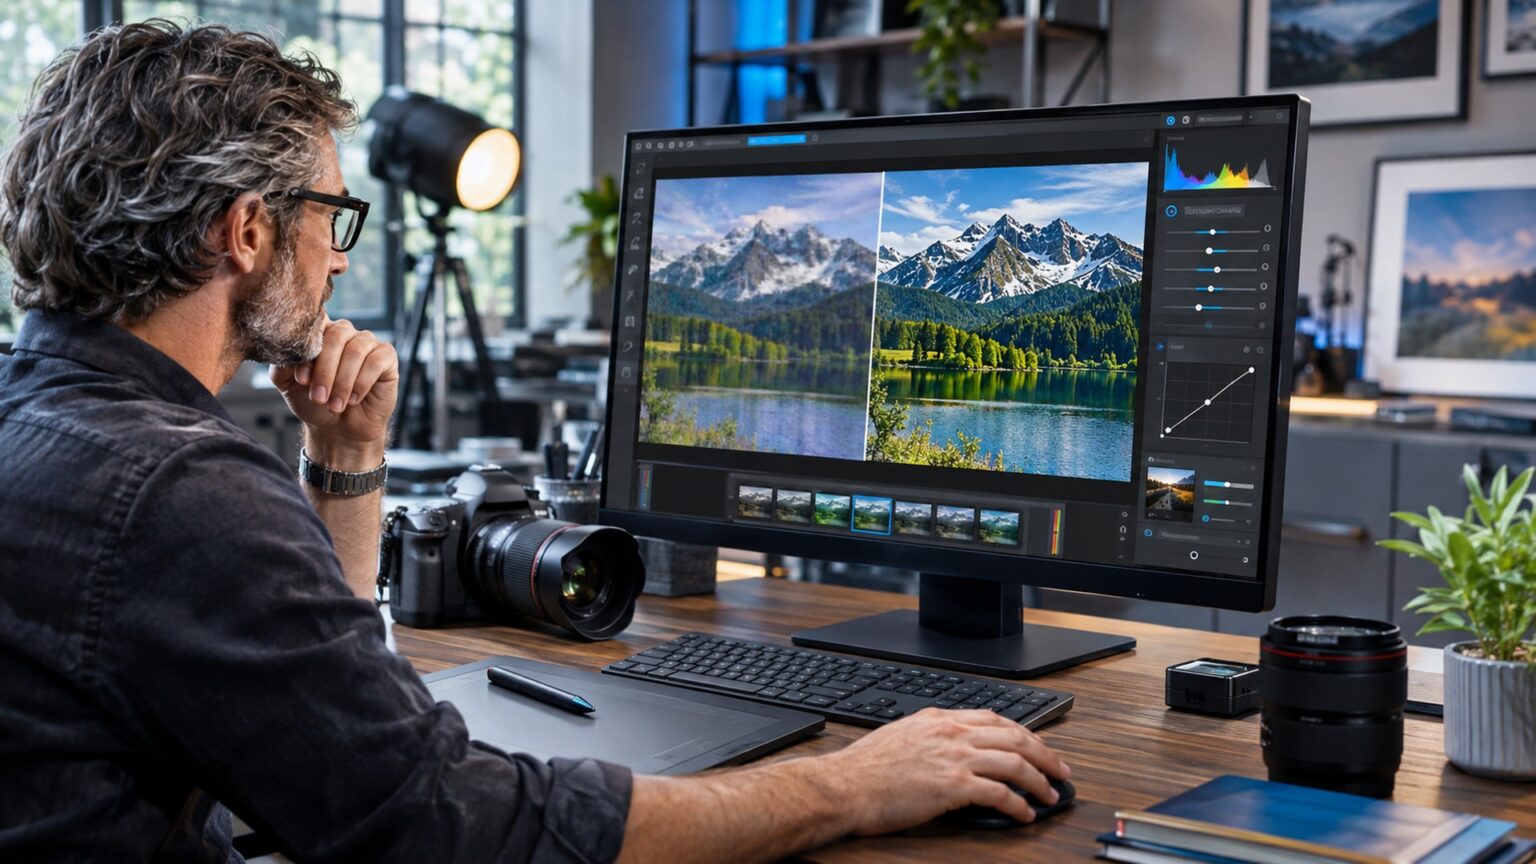
An AI photo enhancer can improve a photograph’s clarity, reduce distracting noise, and make a small image more useful at larger sizes. It can also help restore fading or damage in older pictures. However, results depend on the original file and the editing method. Artificial intelligence can estimate missing detail, but it cannot reliably recover every fact from a blurry scene. This guide explains what enhancement can do, how to use it carefully, and how to choose a tool that fits your photos.
The best results often come from a series of modest adjustments. A photograph may need better exposure before it needs sharpening. Another may need noise reduction without any increase in resolution. Understanding the problem first keeps faces, textures, and colors looking natural.
What Does an AI Photo Enhancer Actually Do?
Image enhancement software uses trained models to recognize common visual patterns. It can distinguish likely edges from digital noise, estimate smoother color transitions, or create plausible detail when enlarging a file. Different features solve different problems, so one automatic Enhance button may not suit every photograph.
Sharpening Improves the Appearance of Edges
Sharpening makes boundaries between objects appear more defined. It can help a slightly soft portrait or landscape. Excessive sharpening creates bright halos along edges, gritty skin, and harsh textures. It also cannot reliably reverse severe motion blur or an image that was focused on the wrong subject.
Denoising Reduces Grain and Color Speckles
Photos taken in dim light may contain visible grain, colored dots, or uneven shadow areas. AI denoising aims to reduce these distractions while keeping useful texture. Strong settings can make fabric, hair, and skin appear waxy. The right balance is often more important than removing every speck.
Upscaling Makes Small Files Larger
Upscaling increases pixel dimensions. A twofold increase in width and height produces four times as many pixels. AI models estimate detail between existing pixels, which may make the result look cleaner than ordinary resizing. The added detail remains an estimate, not proof of what the camera originally captured.
Seven Practical Steps to Enhance a Photo Naturally
A reliable AI photo enhancer workflow begins with the source image, not a preset. Follow the steps in order, then stop when the picture looks right. More processing does not always mean a better result.
1. Find the Highest Quality Original
Start with the original camera file if you have it. A RAW or high quality JPEG generally gives editing software more useful information than a small screenshot or a repeatedly shared social media copy. Look in your camera library, cloud backups, or original message attachments before processing a compressed version.
Check the image size and whether the photo is already heavily edited. If the picture is only a tiny thumbnail, a dramatic enlargement may introduce invented textures. It can still be useful for casual display, but expectations should remain realistic.
Preserve a Clean Master Copy
Duplicate the original before editing. Save enhanced versions separately with descriptive filenames. This makes it possible to compare changes or restart when a tool exaggerates a face or background. Keep original metadata when appropriate for your intended use.
2. Identify the Main Image Problem
Zoom in to inspect the subject, background, and shadows. Ask whether the picture is too dark, noisy, out of focus, or simply too small. A photo may have several issues, but one usually matters most to its purpose.
For example, a portrait with sharp eyes and noisy shadows may need denoising more than sharpening. A clear product photo intended for a larger catalog layout may need careful upscaling. Choosing the correct feature avoids unnecessary alteration.
3. Correct Exposure and Color First
Adjust brightness, contrast, white balance, and shadows before adding artificial detail. If the overall image is too warm or green, sharpening will not solve the problem. Look for natural skin tones, neutral whites, and visible detail in important areas.
Avoid pushing shadows so far that noise becomes obvious. Likewise, heavily lifting highlights may not restore information that was completely clipped when the photograph was taken. Small adjustments often produce a more believable result than extreme sliders.
4. Reduce Noise Before Aggressive Sharpening
Apply noise reduction to the areas that need it, especially dark backgrounds or high ISO images. Preview hair, eyelashes, text, and fine fabric at normal viewing size and at full size. These areas reveal whether the AI has softened real detail.
A useful AI photo enhancer allows you to compare a denoised result with the original. Use the lowest setting that addresses the visible problem. You can then add mild sharpening if the subject still needs definition.
5. Upscale Only to the Size You Need
Decide how the finished image will be used. A small photo for a website thumbnail may not need a huge export. A print or large display can require more pixels, but it also needs an original with enough meaningful detail to support enlargement.
Try a moderate increase first. Inspect diagonal lines, foliage, repeating patterns, and lettering. If the model invents strange shapes, reduce the scale or select a more conservative method. Bigger dimensions alone do not guarantee print quality.
Check the Target Display Size
For web use, consider the actual width at which the picture appears. For print, ask the printer about recommended dimensions and viewing distance. Choose settings for that final purpose rather than automatically selecting the largest output available.
6. Review Faces and Small Details Carefully
Some tools provide face recovery or portrait enhancement. These features can improve a soft facial area, but they may also alter the shape of eyes, teeth, or other identifying features. That matters for family memories, historical pictures, and any image intended as a faithful record.
Use the lowest effective strength, and compare distinctive features with the original. If the enhanced version looks like a different person, do not treat it as a restoration of fact. For documentary purposes, keep an untouched copy alongside the edited version.
7. Export, Compare, and Recheck the Result
View the finished photo at its intended size, not only while zoomed in. Examine natural surfaces such as skin, brick, grass, and fabric. Look for halos, strange repeating textures, patchy color, and overprocessed faces.
Export in a format suited to the task. JPEG is convenient for many photographs and websites. PNG can be useful when lossless output or transparency is needed. TIFF is often suitable for high quality editing handoffs. Retain a separate working file if you expect further adjustments.
How to Choose the Right AI Photo Enhancer Tool
The best AI photo enhancer is the one that addresses your actual images with enough control to avoid damage. Compare features, privacy practices, and export limits before committing to a subscription. A tool that creates attractive previews may not deliver suitable final files.
Browser Based Editors for Quick Jobs
Online editors can be convenient when you need to improve one picture without installing software. Check upload limits, accepted formats, download resolution, watermark policies, and how long uploaded files are retained. Some services process images on remote servers.
Do not upload confidential client photos, private documents, or sensitive family images until you understand the provider’s privacy and data handling terms.
Desktop Software for Detailed Control
Desktop editors often offer more control over color, selective masking, batch work, and large files. Some processing can run locally, although individual features may still use cloud services. Confirm how the specific feature operates rather than assuming that a desktop application is entirely offline.
A detailed workflow is valuable when you process professional photographs or need consistent results across a collection.
Mobile Apps for Everyday Images
Phone apps make quick corrections accessible while traveling or posting to social media. Look for before and after previews, undo controls, natural looking presets, and exports without unwanted compression. Mobile convenience is useful, but it should not replace careful review of important images.
How to Improve Different Kinds of Photos
There is no universal setting for every subject. A good AI photo enhancer should preserve the visual qualities that make an image useful or memorable.
Old Family Photographs
Start with a careful scan or high quality photograph of the original print. Remove dust, correct faded contrast, and repair small marks in controlled stages. Avoid aggressive face reconstruction when the goal is to preserve a person’s actual appearance.
If you add color to a black and white image, remember that AI is estimating likely colors. It may create an attractive interpretation, but those colors are not verified historical facts. Keep the original scan for future reference.
Portraits and Group Photos
Prioritize natural skin texture, accurate facial features, and a pleasing balance of light. Moderate noise removal can help indoor portraits. Strong skin smoothing may erase freckles or create unrealistic surfaces. Check every face in a group, not only the person nearest the camera.
For professional headshots, avoid changes that misrepresent someone’s identity or appearance. Enhancement should support a clear image, not create a different person.
Product Photography for Online Stores
Clear product images can help customers understand shape, color, and visible details. Correct exposure and white balance before adding sharpness. Examine edges, labels, materials, and surface finishes after processing.
An AI photo enhancer can make a product picture cleaner, but it should not invent stitching, alter color, hide defects, or generate features the item does not have. Accurate presentation matters more than an exaggerated premium look.
Night Photography and Indoor Scenes
Low light images commonly need careful noise reduction, restrained shadow recovery, and selective sharpening. Brightening every area equally may make the scene look flat or bring out unwanted artifacts. Preserve some natural darkness when it contributes to the atmosphere.
For moving subjects, recognize that severe motion blur may remain even after enhancement. A better capture can be more useful than additional processing.
Documents, Screenshots, and Printed Text
Text requires special caution because an enhancement model may reshape letters and numbers. For a scan, first correct alignment, contrast, and legibility with appropriate document tools. Compare every important word or figure against the original.
Never rely on generated text details for contracts, IDs, medical records, or evidence. If accuracy matters, return to the source or rescan rather than trusting an invented character.
What AI Enhancement Cannot Reliably Fix
An AI photo enhancer is not a time machine for lost information. It can make an image easier to view, but it may introduce details that were never present. This distinction becomes important with legal evidence, scientific work, journalism, and identity verification.
Severe Blur and Missing Information
When a subject is extremely blurred, the software has little trustworthy visual information to work with. It may guess edges based on common patterns. A guessed license plate number, facial feature, or label is not a reliable recovery of the original scene.
Heavy Compression and Cropped Detail
A heavily compressed file may contain blocks or ringing around edges. Enhancement can reduce the appearance of these defects, but it cannot always reconstruct the original texture. An object cropped out of the frame cannot be restored faithfully without another source image.
An Inappropriate Original Composition
Image quality and composition are separate problems. A technically sharper photo can still have awkward framing or distracting objects. Cropping, perspective correction, and better lighting at capture may help more than increasing resolution.
Common Mistakes That Make Enhanced Photos Look Worse
The most frequent mistake is applying every correction at maximum strength. Too much sharpening produces outlines around objects. Excessive denoising erases texture. Strong upscaling can generate imaginary details. These errors are especially visible on hair, lettering, architecture, and patterned clothing.
Another mistake is judging an image only at extreme zoom. Check how the finished picture looks at the size people will actually see. A small artifact at 400 percent magnification may be irrelevant, while unnatural faces remain obvious even on a phone.
Avoid Repeated Exports
Saving a JPEG repeatedly at aggressive compression settings can introduce new artifacts. Keep a high quality working version and export a final copy for each use. If further edits are needed, return to the working file instead of reprocessing the compressed output.
Quality Checks for Website Images and Social Media
For website publishing, image quality must be balanced with file size and loading performance. A large enhanced photo is not automatically a good web asset. Export at suitable pixel dimensions and use reasonable compression while checking that important details remain clear.
Use descriptive filenames and helpful alt text that reflects the actual visible image. Do not insert unrelated search terms into alt text. For products, show the item faithfully. For articles, choose visuals that support the topic rather than generic decorative imagery.
Test on More Than One Screen
Inspect your export on a phone and a desktop display. Skin tones, fine lines, and text may look different across devices. If an image appears unnaturally crisp on smaller screens, reduce sharpening or contrast before publishing.
A Simple Final Review Checklist
Check the subject’s identity, realistic textures, edge artifacts, color accuracy, crop, final dimensions, and file size. Confirm that the exported file opens correctly and that any required original is preserved. A short review prevents many avoidable publishing problems.
Privacy, Copyright, and Responsible Image Editing
Before uploading an image to an online AI photo enhancer, consider who appears in it and who owns the rights. Some photos include children, customers, private interiors, or documents. Read the service’s data policies and obtain appropriate permission before sharing images that belong to someone else.
For commercial projects, check license terms for the original photograph and the editing software. Editing a copyrighted image does not automatically grant permission to publish it. Keep records of approved assets when working for clients.
Be Honest About Material Changes
Removing noise or adjusting brightness usually changes presentation rather than the underlying subject. Generating new facial features, altering products, or adding missing objects can change what the image communicates. When factual authenticity matters, disclose significant edits and keep the untouched source.
Free Versus Paid Enhancement Software
Free tools can be useful for occasional photos, but they may limit resolution, daily exports, file formats, or processing speed. Paid tools may offer more controls, batch processing, or specialized models. Price alone does not establish quality.
Test several representative photos before subscribing. Use one low light picture, one portrait, and one detailed scene. Compare the results at equal display sizes and check export conditions. Consider cancellation terms, privacy needs, and whether the software runs on your available hardware.
When Batch Processing Is Worth It
Batch tools can save time for a collection with consistent defects, such as event photos taken under similar lighting. Still, review a sample before applying the same settings everywhere. Images with different exposure or skin tones may need individual corrections.
Compare Results With a Repeatable Test
Before choosing an AI photo enhancer, create a small test set that represents your normal work. Include one poorly lit photo, a face, a detailed object, and a low resolution image. Export each result at the same dimensions so the comparison is fair. Check processing time, edge quality, skin texture, file size, and whether the tool changes important details. A reliable tool should make several kinds of pictures useful, not just impress you with one dramatic demonstration. Record the settings that produced the most natural results.
Frequently Asked Questions
Can an AI photo enhancer make blurry pictures clear?
It can improve some mild softness and reduce artifacts, but severe motion blur or missing detail cannot always be recovered accurately.
Does AI upscaling improve image resolution?
Yes. It increases pixel dimensions and estimates additional detail. Larger files may look clearer, but generated detail is not guaranteed to match reality.
Is an AI photo enhancer good for old photographs?
It can help reduce noise, improve contrast, and repair minor damage. Use gentle settings and preserve the original scan, especially for faces.
Are free AI photo editing tools safe?
Safety depends on each provider’s data policies and security practices. Avoid uploading sensitive images until you understand how files are processed and stored.
Which format should I use after enhancing a photo?
JPEG suits many everyday photos, PNG is useful for some lossless exports, and TIFF supports high quality editing workflows. Choose according to the final use.
Can AI enhancement change a person’s face?
Yes. Strong face recovery can invent or alter details. Compare the edited image with the original and avoid misleading changes.
Conclusion
The most useful AI photo enhancer improves an image while preserving what made the original worth keeping. Start with the best available file, identify the real problem, and apply only the corrections you need. Review faces, textures, text, and export settings before sharing the result. With a careful workflow, AI tools can support clearer, more appealing photographs without turning every picture into an artificial reconstruction.
