
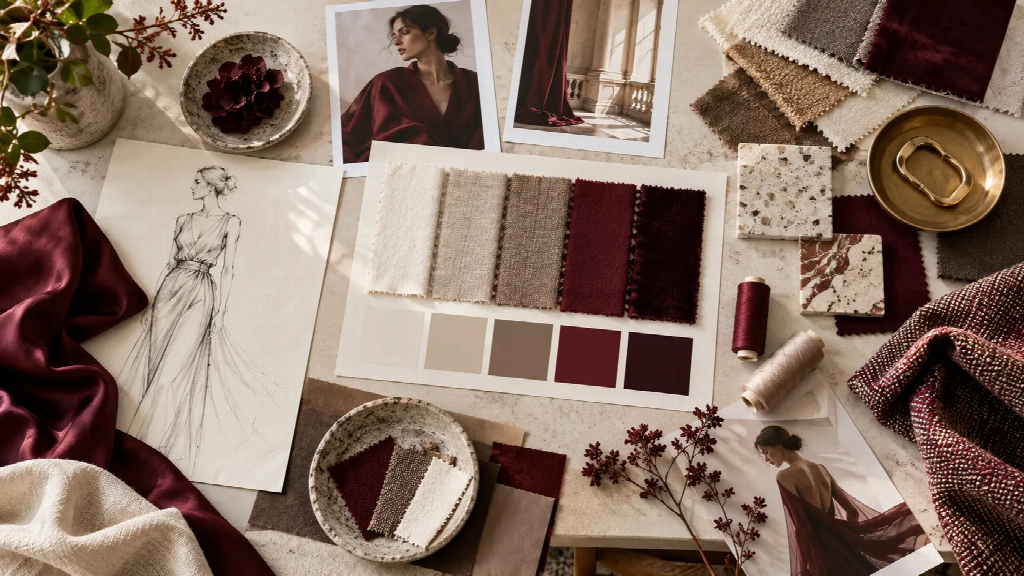
Product design often begins with an idea that is difficult to explain. A founder imagines a more compact desk accessory; a designer wants to explore a different handle shape; an ecommerce team needs to compare packaging directions before paying for prototypes. ai image generation tools can turn rough descriptions into visual concepts that people can discuss and challenge.
The important distinction is between a convincing image and a workable product. Generated pictures can help teams explore appearance, materials and usage scenarios. They cannot establish dimensions, engineering performance, safety or manufacturing feasibility. Used with that boundary in mind, AI can make the early design process more focused and less dependent on a single initial sketch.
How AI fits into product design
AI-generated images are most useful during concept exploration, when a team is asking what a product might look like rather than proving exactly how it will function.
They can support silhouette comparisons, color and material exploration, product-in-context scenes and presentation boards. They also help people without advanced rendering skills communicate an idea to designers, engineers or suppliers.
But a rendered hinge may not actually open. A glossy surface may represent an impossible material combination. Treat every output as a proposal to investigate, not a specification to manufacture.
A practical workflow moves from brief to multiple concepts, then to comparison, rough mockups and physical validation. AI contributes to some stages, not all of them.
Start with a useful product design brief
Before writing a prompt, define the user problem. “Design a stylish cable organizer” gives little direction. “Explore a desktop organizer that keeps three charging cables accessible without cluttering a small workspace” is more useful.
Record the target user, where the product will be used, its essential functions and constraints that cannot be ignored. For a cable organizer, that might include a small desk footprint, one-handed access and compatibility with common cable sizes.
Separate confirmed requirements from assumptions. You may know the intended use, but not yet know whether users prefer a closed channel or exposed slots. That uncertainty is a good reason to generate contrasting concepts.
Add a visual direction without prescribing the answer: warm minimalism, practical industrial styling or playful rounded forms. Avoid combining incompatible aesthetic instructions just to make the prompt sound sophisticated.
Write one question the images should help answer. For example: Which form makes cable access most understandable at a glance?
Generate product concept images with AI
Begin with a simple object and a clear viewpoint. A three-quarter view often communicates form, while a top-down view can reveal layout and placement.
Use a prompt structure such as: “Product type + intended user and function + form direction + materials + viewing angle + background + constraints.”
Example: “Concept rendering of a compact desktop cable organizer for a small home office, three clearly visible cable channels, rounded rectangular silhouette, matte recycled-plastic appearance, three-quarter view on a neutral desk, soft studio lighting, no text or logos.”
Make two or three purposeful variants. One might prioritize concealed cables, another easy access and a third modular arrangement. Keep viewpoint and lighting comparable so styling does not overwhelm the functional differences.
An ai image generator can help you explore these directions quickly, but inspect each result for invented openings, inconsistent geometry and features that would not be usable in real life.
Avoid uploading confidential designs, unreleased specifications or customer materials unless you have authorization and the service’s data handling terms fit your project.
AI product design prompt examples
Desk accessory: “Industrial design concept for a compact desk organizer with separate sections for cables, pens and small devices, restrained geometric form, matte charcoal finish, front three-quarter view, plain background, realistic proportions, no branding.”
Home product: “Concept image of a wall-mounted entryway shelf for keys and small everyday items, rounded edges, warm oak appearance, minimal hardware, three-quarter view showing storage access, neutral interior setting, no labels.”
Consumer electronics accessory: “Concept rendering of a protective case for a portable charging device, textured grip surfaces, clear access to charging ports, understated design, front and side views, neutral studio backdrop, no logos.”
Reusable packaging: “Concept exploration of a refillable personal-care container, easy-to-grip shape, simple opening mechanism, soft neutral colors, isolated product view, no printed text, emphasize reusable form.”
Kitchen tool: “Concept rendering of a compact measuring scoop with an ergonomic handle and stable resting base, food-safe material appearance, side view and three-quarter view, clean background, no labels.”
These examples are prompts for visual exploration, not verified engineering drawings. Replace the generic materials and functions with the actual requirements from your brief. If a generated result hides an important feature, request a clearer angle rather than assuming the feature works.
Compare concepts against the brief
Select a small number of candidates and evaluate them consistently. A simple scorecard can cover clarity of use, fit with the target user, visual differentiation, likely complexity and unanswered technical questions.
Do not let attractive lighting decide the winner. Place concepts on the same neutral background or annotate them with the same criteria. Ask what each form communicates about how the product should be held, opened, stored or cleaned.
For the cable organizer, an exposed-slot concept may communicate accessibility better than a closed box, but it might also leave cables more visible. Record that trade-off rather than declaring one design superior based on appearance.
Invite feedback with task-based questions. Instead of “Which one looks best?”, ask “Where would you put the cable?” or “How would you remove it with one hand?” These questions expose confusing interactions.
Keep a decision log identifying the concept, the evidence supporting it and what still needs testing. A favorite render is not a substitute for a design rationale.
Turn concepts into mockups and presentations
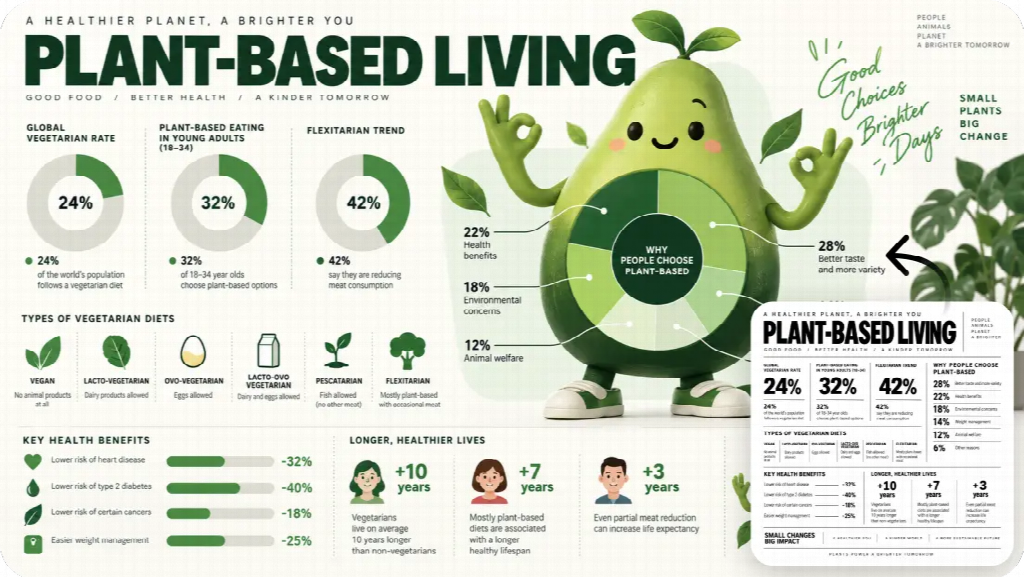
A concept image becomes more useful when it is shown in context. Place the proposed desk organizer on a realistic desk with a keyboard, laptop and charging cables. This can reveal whether the object appears visually bulky or whether its intended use is immediately understandable.
Create a simple presentation board with the original brief, two or three candidate views and short annotations. Label the images as AI-generated concepts so reviewers do not mistake them for finished prototypes or photographs of existing products.
For packaging, show the concept on a shelf or beside competing category shapes, but do not invent product claims or regulatory labels. Add any actual text and branding later in an editable layout.
For stakeholder reviews, use comparable angles and image sizes. A dramatic hero shot of one option beside a plain technical view of another is an unfair comparison.
If a concept is promising, translate the important features into rough sketches, measured diagrams or a simple physical model. The next artifact should answer a question the image cannot.
What AI cannot validate
Dimensions: A generated image does not prove that an object fits a specific space or that its components have correct tolerances.
Mechanics: Hinges, clips, closures and moving parts may look plausible while being impossible to assemble or operate.
Materials: A metallic finish does not establish strength, durability, recyclability or the cost of a real material.
Ergonomics: A hand holding a rendered product does not prove comfort, grip or accessibility across different users.
Safety and compliance: Product safety, electrical requirements, food-contact suitability and other applicable rules require qualified review and appropriate testing.
Manufacturing cost: Attractive complexity may require expensive tooling, difficult assembly or unrealistic production processes.
For these questions, move to CAD, engineering review, supplier input and physical prototypes as appropriate. The image is a conversation starter, not evidence that the product is ready to sell.
A practical AI product design workflow
Day one: Write a one-page brief with the target user, problem, non-negotiable functions and two unresolved design choices.
Day two: Generate three concept families with comparable views. For example, explore open, enclosed and modular cable organizers. Save the prompts alongside the images.
Day three: Review candidates with designers or potential users. Ask them to explain how each object would be used. Record misunderstandings and useful reactions.
Day four: Select one or two directions for a low-fidelity mockup. Draw approximate dimensions, mark access points and build a cardboard or simple printed model if practical.
Day five: Test the mockup against the original problem. Note whether it fits the intended environment and whether a person can use it as expected.
This schedule is an illustrative sprint, not a guarantee that a product can be developed in five days. Complex products need more investigation and specialist work.
In Dreamina, you can explore visual variations using authorized inputs, then bring selected concepts into the review process. Keep the prompts and version notes so your team can explain what changed and why.
Common mistakes and how to avoid them
Generating dozens of unrelated images can create choice overload. Limit the first round to a few genuinely different directions tied to the brief.
Using elaborate adjectives without specifying function produces attractive but generic concepts. State what the object must help someone do.
Mistaking photorealism for feasibility encourages premature decisions. Annotate uncertain features and request engineering validation.
Changing camera angles between options can hide meaningful differences. Use comparable views whenever the goal is evaluation.
Showing a polished concept to customers without explaining its status may create false expectations. Describe what is hypothetical and ask about behavior rather than promised features.
Make the next decision easier
The goal of AI-assisted product design is not to replace the designer or produce a final manufacturing file from a sentence. It is to make early alternatives visible, reveal assumptions and help teams decide what to test next.
Start with a specific user problem, generate a small set of contrasting concepts, evaluate them against consistent criteria and turn the most promising direction into something measurable. A good concept image earns its place when it leads to a better question, a clearer prototype or a more informed design decision.
